Challah Shaping Basics for an Even Braid
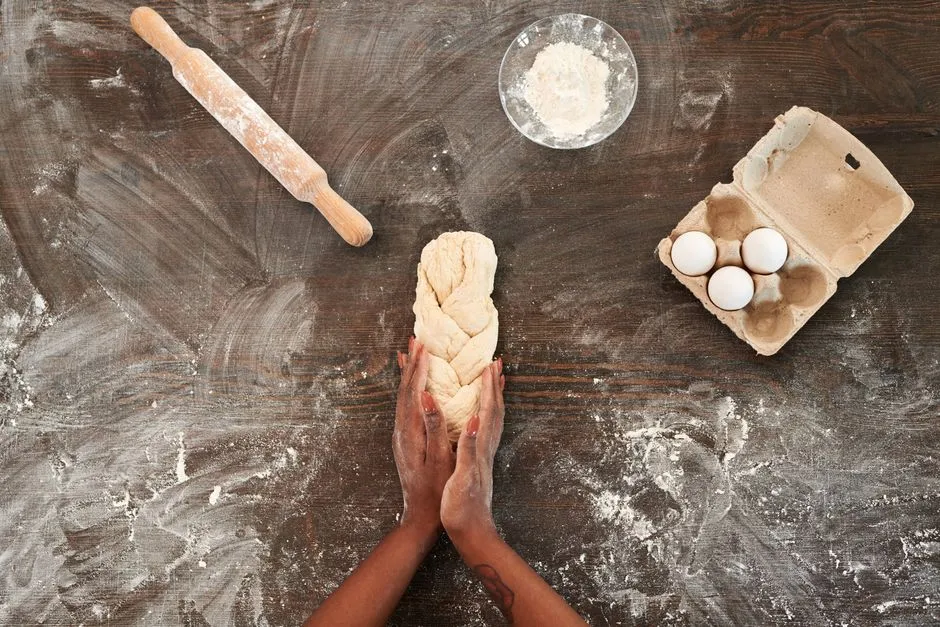
Shape only when the dough is ready
Begin with dough supple enough to extend without tearing and strong enough to hold a strand. If it smears, snaps back, or spreads, assess it before shaping; braiding will not fix a texture or fermentation problem. The challah dough troubleshooting guide covers those problems.
Use a clean, stable work surface and keep raw dough separate from ready-to-eat foods. Follow the recipe and FoodSafety.gov for U.S. readers or the local public-health authority's current guidance elsewhere for ingredients, fermentation, baking, cooling, and storage. Never state that a dish or product does not contain an allergen. Ask guests directly, retain and read every packaged-ingredient label, prevent cross-contact, disclose uncertainty, and let the affected guest decide. The FDA's food-allergy guidance explains U.S. labels; elsewhere, use the local regulator's guidance. Questions about separating challah, blessings, or other religious practice belong with a qualified rabbi; certification questions belong with the agency identified on packaging.
Divide by weight or careful comparison
Make the strands as similar as possible. Divide the dough for the chosen braid, compare the portions, and correct large differences before rolling.
Pre-shape each piece into a short cylinder. Cover the pieces and let the dough relax if it resists. Forcing tight dough creates thin centers, fat ends, or torn surfaces.
Roll from the center outward
Place one cylinder under both hands. Roll gently from the center toward the ends, lengthening it in stages. Use light pressure and return to each strand several times. This produces a more even rope than trying to reach full length in one aggressive pass.
Aim for matching length and thickness. A slight taper at the ends can help create a neat finish, but avoid needle-thin tips that bake faster than the loaf. If the surface sticks, use only enough flour or another recipe-appropriate control to keep working; too much can stop strands from gripping one another.
Braid with steady, loose tension
Arrange the strands parallel and join them at the top without crushing the dough. Follow one repeatable sequence from your chosen braid pattern. After each move, bring the strand into place with gentle, consistent tension. Do not pull it longer during braiding.
The braid should be defined but not cinched. Dough needs room to expand during its final rise and baking. An extremely tight braid can distort or split; an extremely loose one may open. Place each strand without stretching or cinching it.
Pinch the ends together and tuck them beneath the loaf. If one section looks much tighter than another, gently adjust nearby crossings rather than dismantling the entire braid.
Proof and bake without losing the pattern
Move the shaped loaf to its prepared baking surface with both hands or a suitable support. Protect it from drafts and follow the recipe's visual and timing guidance for the final rise. Dough conditions vary, so look for the recipe's described change in volume and feel rather than relying on the clock alone.
Apply any wash or topping gently so the braid is not deflated. Follow the recipe and equipment instructions for baking. Use heat-safe protection around trays and ovens, keep children clear, and allow the loaf to cool on a stable surface before slicing.
The loaf can anchor a simple Shabbat dinner or join a Rosh Hashanah meal plan, depending on household custom. Do not infer a religious requirement from a decorative shape.
Read the finished loaf
If the braid spread, make the next strands more even and confirm the dough had enough structure. If it tore between crossings, use gentler tension and allow more relaxation. If the ends came apart, pinch and tuck them more securely.
An even challah braid comes from prepared dough, matched strands, and calm repetition.